Digital marketing professionals use more and more communication channels to develop actions and achieve the goals of their companies. FluxForce gives everyone the possibility to automate campaigns through multiple digital channels (SMS, Whatsapp, emails, etc.) with the aim of improving interaction with their customers. However, email marketing continues to play a leading role in the actions and strategies of companies, which is why in this article we explain how to set up your FluxForce account to send up to 80,000 emails for free monthly, using Mailrelay services.
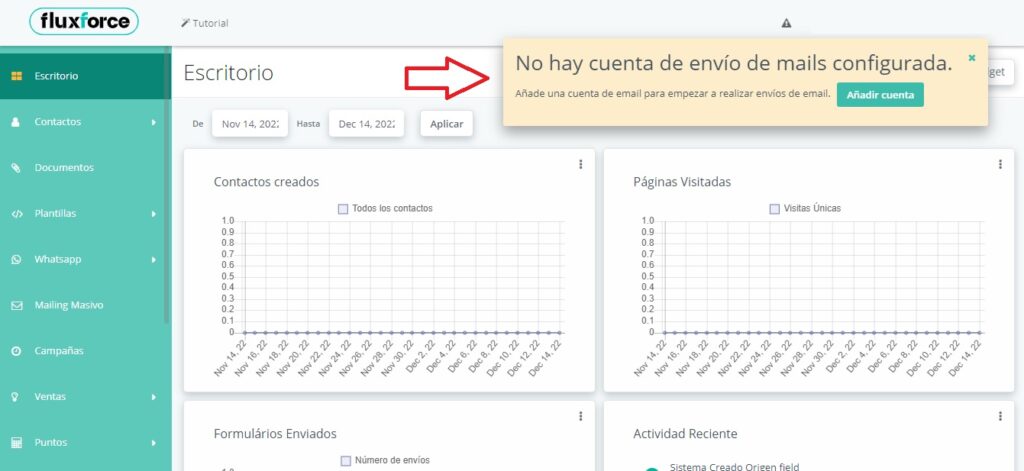
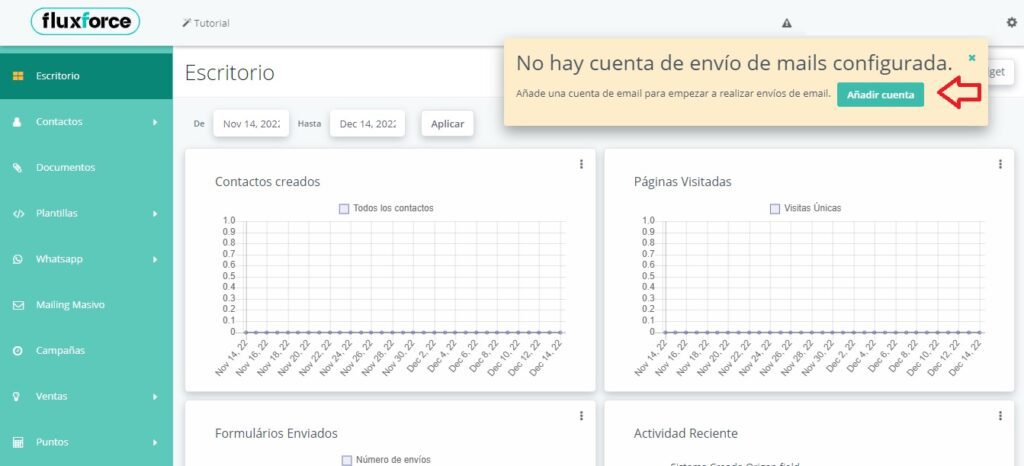
When you create your FluxForce account and access it, you will see a notification indicating that “No email accounts have been set up”, you must follow the following steps to be able to start sending emails to your clients and contacts:
1- No email accounts have been set up in FluxForce:
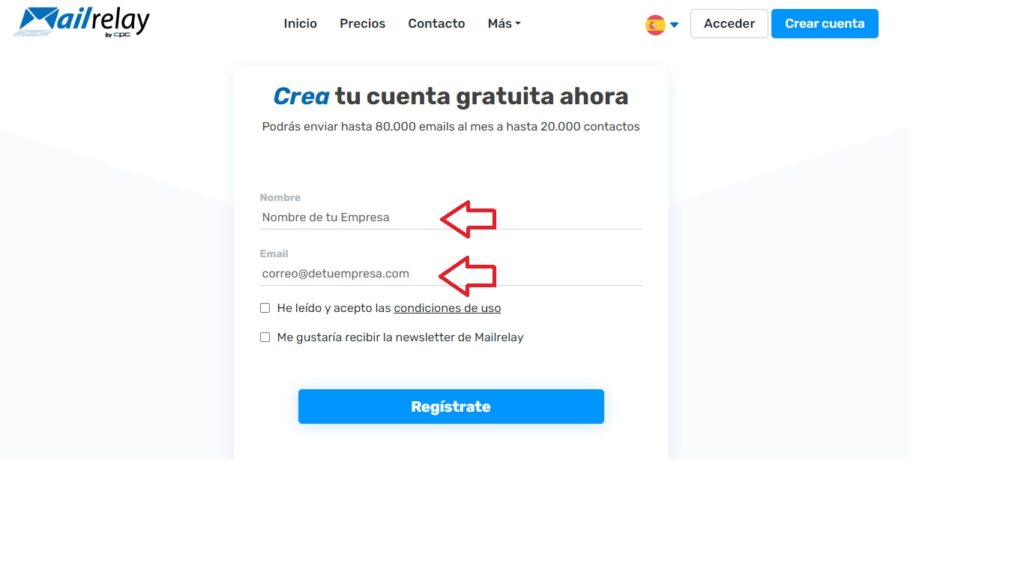
2- Access the Mailrelay website at https://mailrelay.com/ and select “Create account”:

3- Enter your company information and accept the terms and conditions:
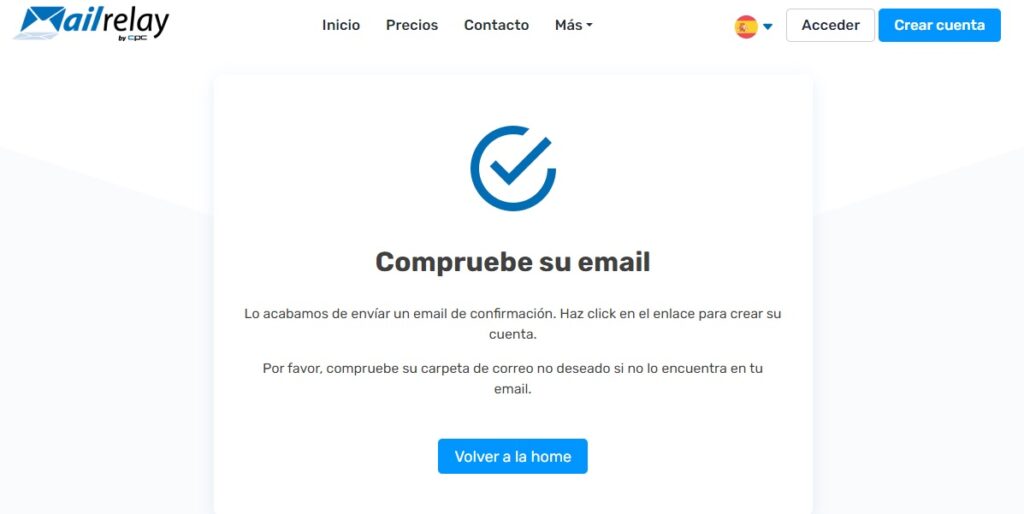
4- Click on the link that Mailrelay will send you by email to create your account:
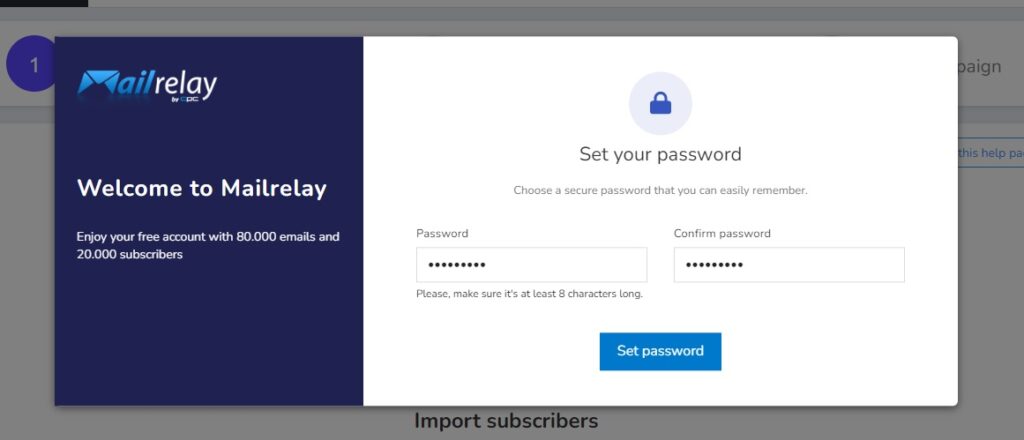
5- Create a secure password for your account:
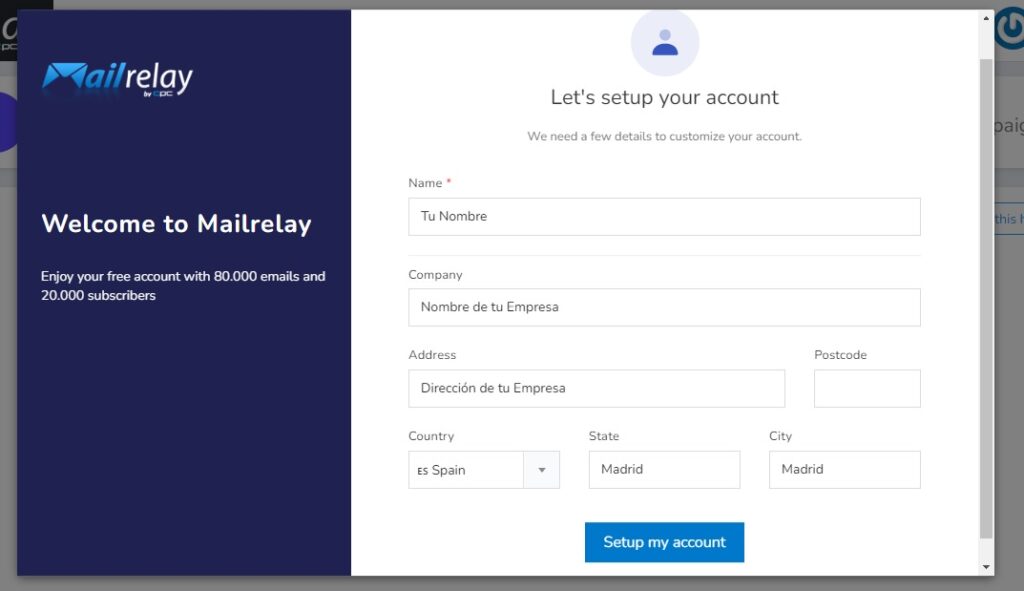
6- Add your name and the information of your company:
7- Congratulations! Your Mailrelay account is ready to be used and send 80 thousand monthly emails for free:
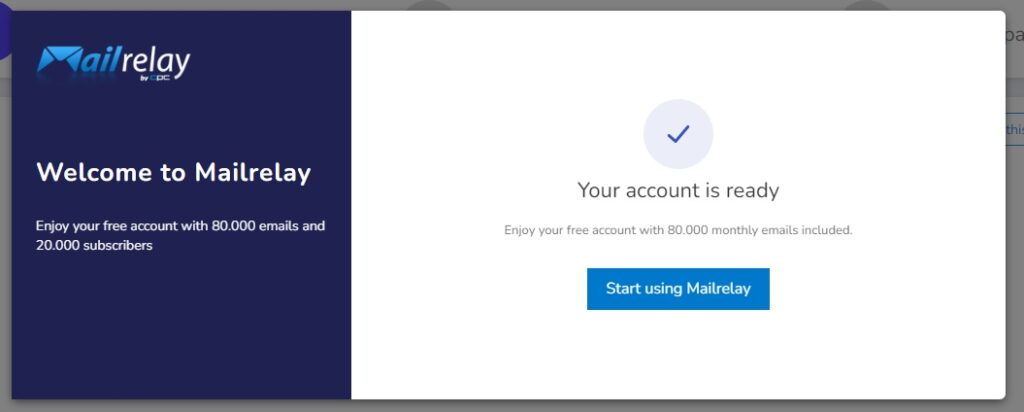
The next steps will be aimed at configuring the SMTP to allow the sending of your emails using your FluxForce account.
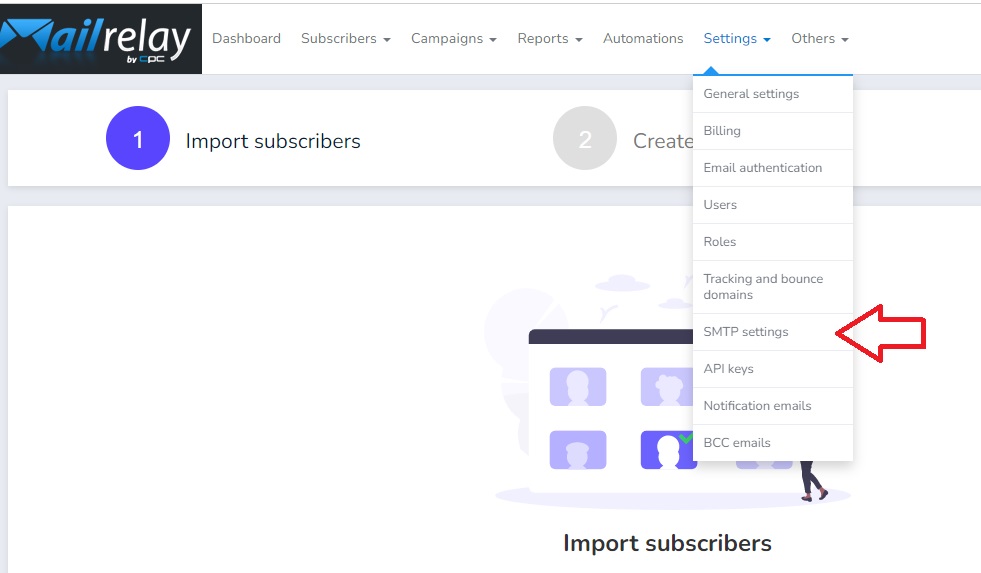
8- In the menu of your Mailrelay account, select the option “SMTP Settings” under “Settings”:
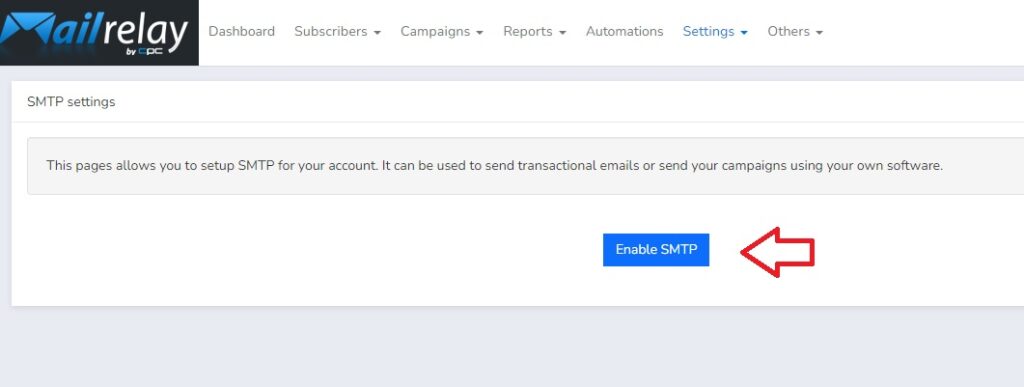
9- Click on the “Enable SMTP” button:
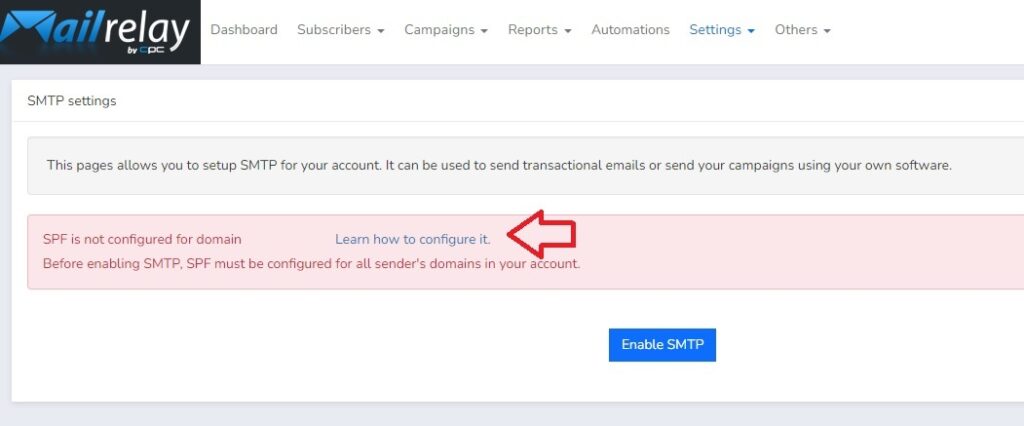
10- The next thing will be to configure the SPF, this step is essential to be able to send emails using your own domain. You must click on “Learn how to configure it”:
11- Then you must update the SPF record and create the DKIM record in your DNS with the information that it will show you:
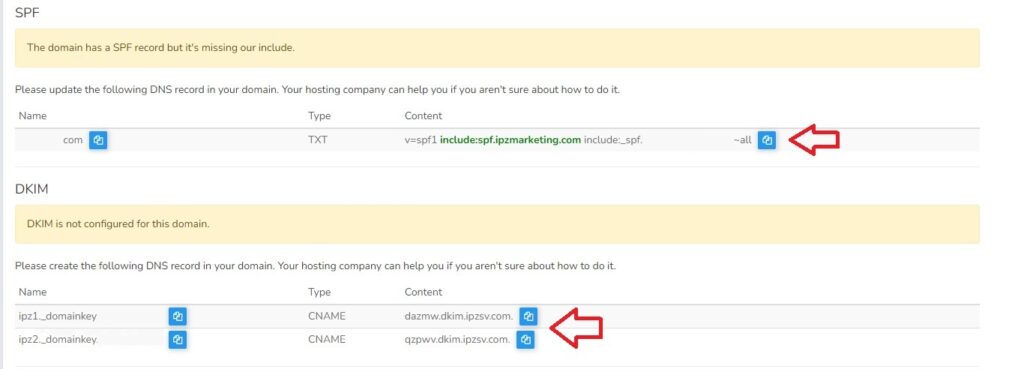
12- The view to update your DNS may vary depending on the provider you use, but it will look more or less like this:

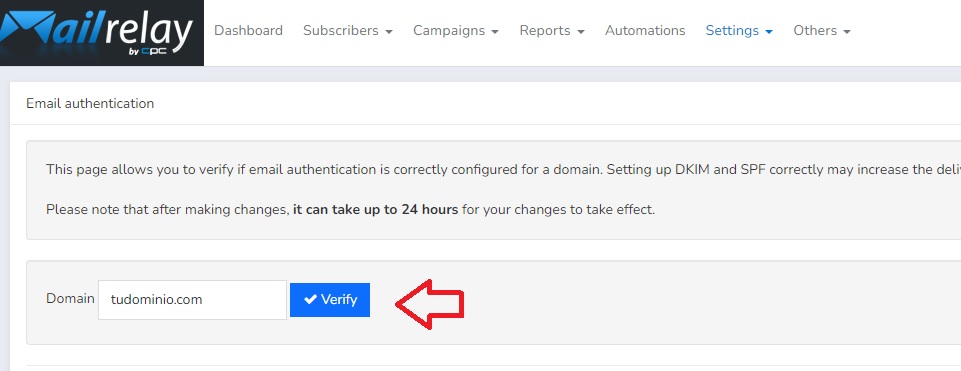
13- Once your DNS is updated, it is time to verify your domain in the “Email Authentication” section within the “Settings” submenu. You must write your domain and click the “Verify” button to ensure that your email authentication for your domain is correctly configured:
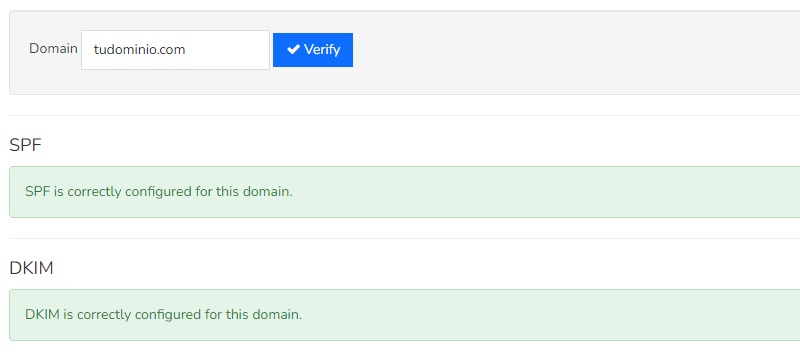
14- If you have followed all the steps correctly up to here, it should be displayed like this:
At this time, all that remains is to configure your email account (Mailrelay) in FluxForce to start sending emails to your clients from our marketing automation platform.
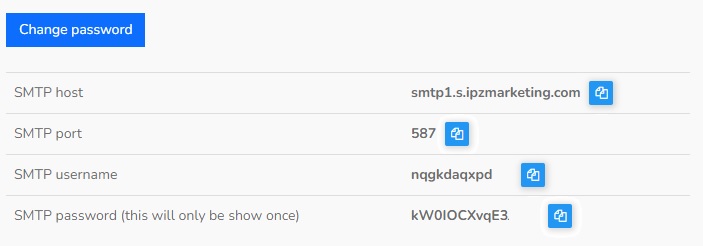
15- Use the configuration data that appears in “SMTP Settings” of your Mailrelay account:
16- Return to your FluxForce account and click on the “Add account” button:
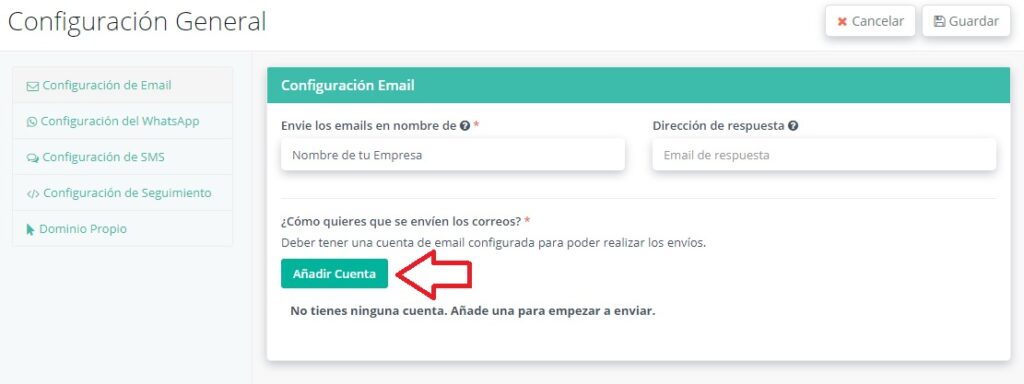
17- You will be redirected to the General Settings of your account, in the Email Settings section, then enter the name with which you want your emails to reach their recipients and click on the Add Account button:
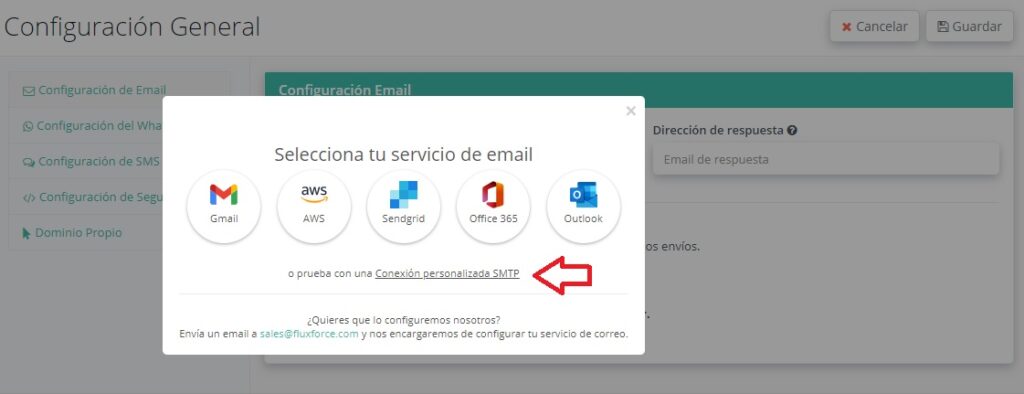
18- Next, select the option “Custom SMTP connection”:
19- Fill in all the fields with the SMTP configuration data of your Mailrelay account that appear in step 15 and click on the “Connect” button:
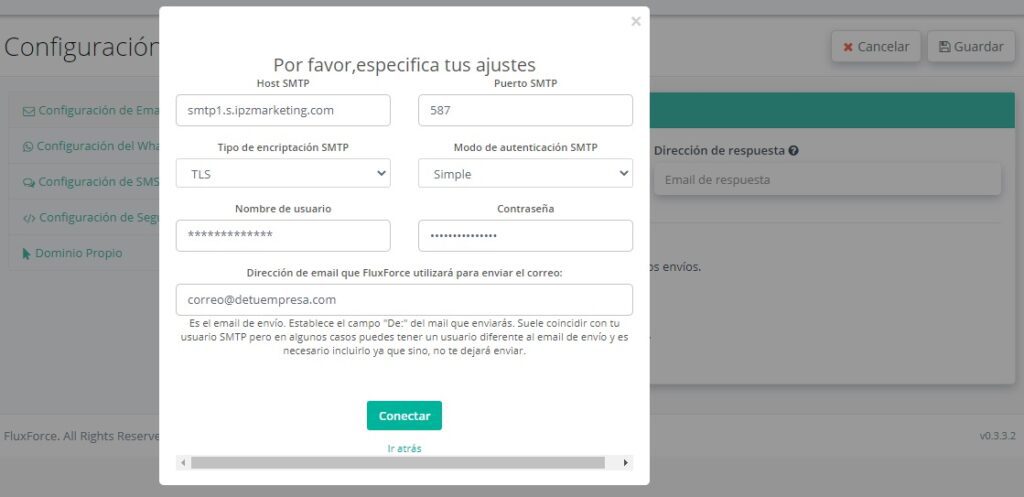
20- Once you have reached this point, your configuration will be fully functional and all that remains is to send a test email to be 100% sure:
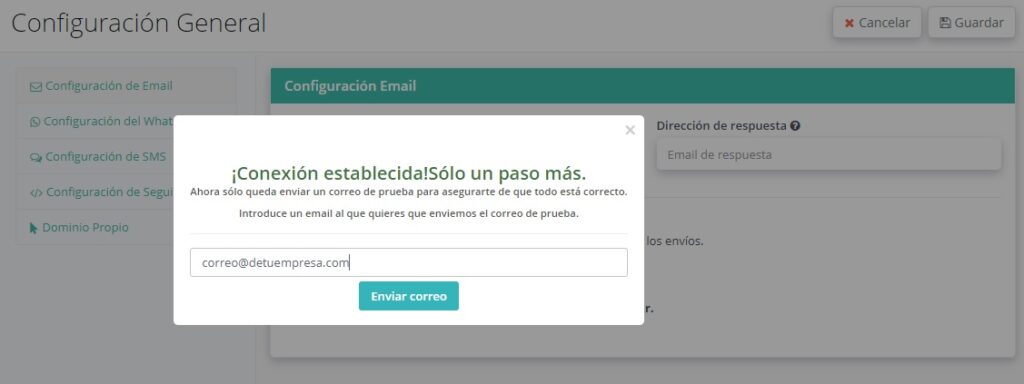
If after completing all these steps you are unable to send emails satisfactorily, do not hesitate to contact our support team, it will be a great pleasure to help you configure your account. Making intelligent and well-planned use of email marketing will be very profitable and effective when contracting any of our plans, including Free, even more so with the possibility of sending 80,000 free emails per month.
To enjoy all the benefits of FluxForce, register here.


