In the business world, generating and managing your leads effectively is crucial. FluxForce greatly facilitates this process in various ways, and one of the most important is by providing the ability to import unlimited contacts quickly and easily across all our plans. Whether you run a large company or a startup, our platform adapts to your needs, and importing your contact list can be the first step.
Automated contact segmentation based on predefined criteria and filters is one of the most relevant features of our marketing automation platform. This allows you to automatically target your campaigns with personalized and effective messages to each contact list. No more sending messages to leads that are irrelevant or go unnoticed! In this article, we will guide you step by step on how to import your contacts, which will be automatically added to the lists you have created based on the filters defined for each list. For example, all contacts living in Barcelona will automatically be part of the list you create (before or after importing) if the filters include matching the contact’s city with Barcelona. Managing your leads strategically is essential for driving your company’s growth, and FluxForce enhances the value you can extract from each lead to achieve your strategic objectives.
Before getting started, here are some important points to consider:
- The file containing the contacts to import must be organized into columns, each corresponding to a contact field.
- Phone numbers should not contain spaces or dashes and must include the country code preceded by a “+”. For example, all Spanish phone numbers should start with “+34,” and all US numbers with “+1.”
- The file must be in .csv format.
Now let’s see, step by step, how to import your contacts quickly, orderly, and efficiently:
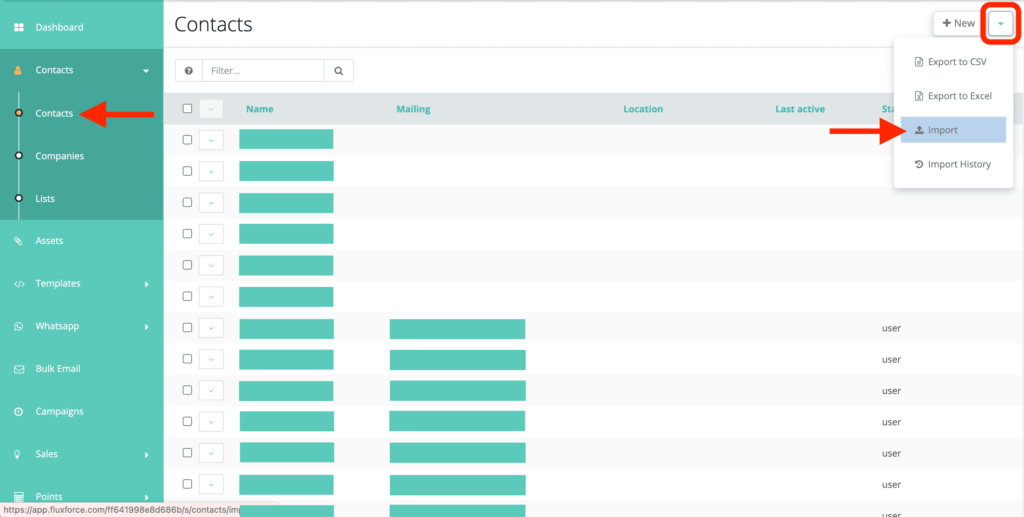
1- In your FluxForce account, go to “Contacts” and click on the arrow you will find in the upper right corner of the screen, right next to the option to create a New contact. You will see a dropdown with several options; select “Import” from them.
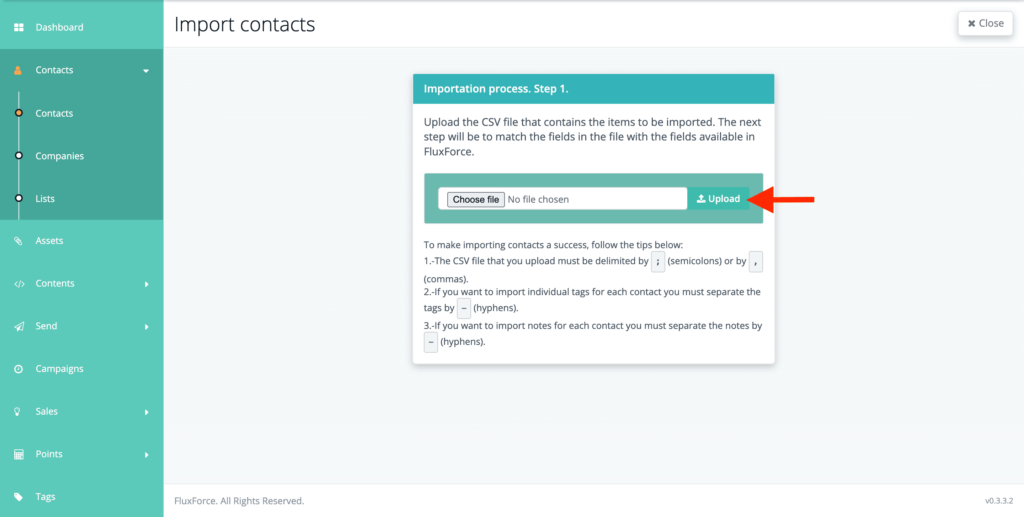
2- Select the CSV file with all your contacts. The CSV file must be delimited by either “,” (comma) or “;” (semicolon), and any tags or notes you want to import for each contact must be separated by “-” (hyphen). Then click on “Upload” and FluxForce will do the rest.
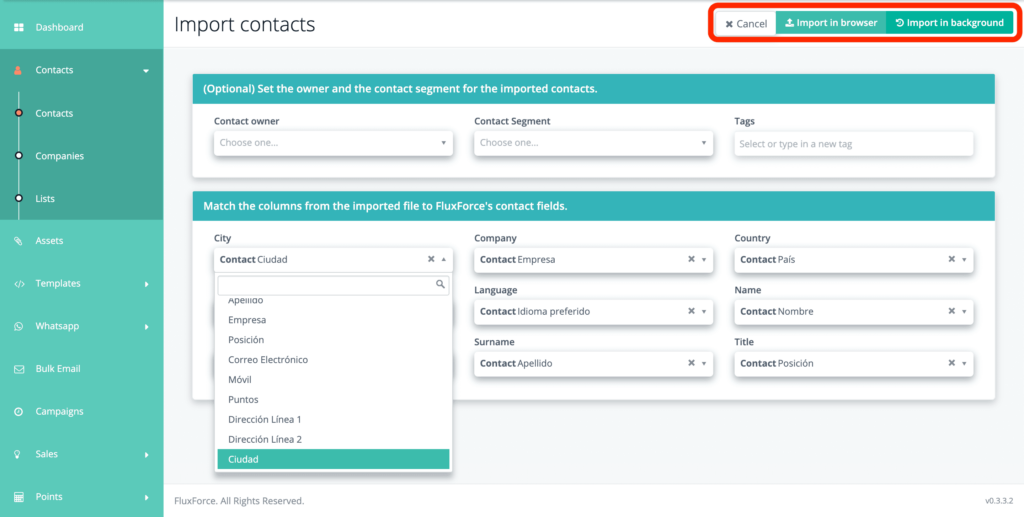
3- On the next screen, you will find the import wizard with a dropdown menu for each column of the selected file. By clicking on any of these dropdowns, you will see a list of all the contact fields, and you will need to match the CSV column with the corresponding field in FluxForce. For example, in the dropdown that appears just below “City” (one of the columns in the selected CSV), you should select the City field for the contact. You should do the same for each column of the CSV that our platform has identified, so that by the end of the import process, all the information from your contacts is stored in their respective fields in FluxForce.
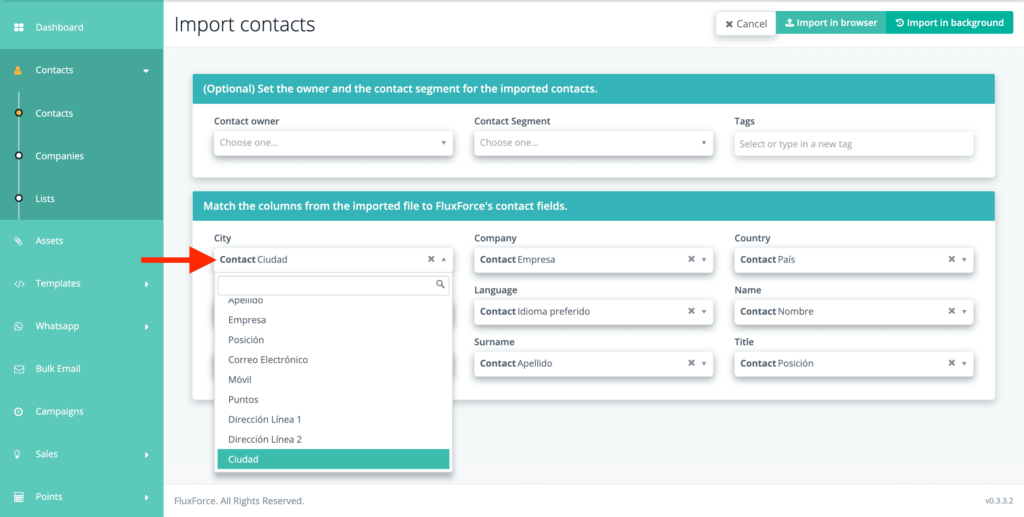
4- Additionally, you can assign an owner to this group of contacts you wish to import, add them directly to a (previously created) list, or add any necessary tags to them.
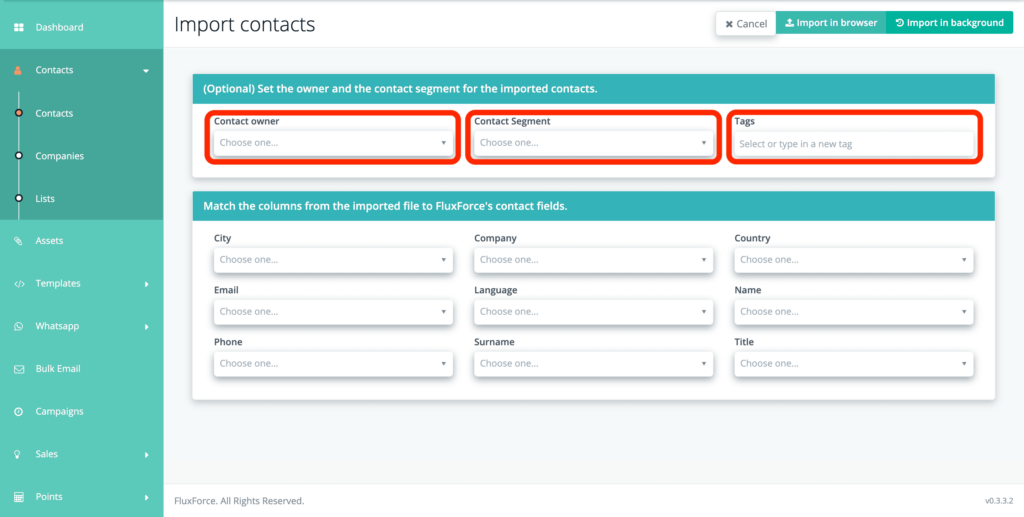
5- As mentioned at the beginning of this article, automatic segmentation within FluxForce is highly relevant. In the “Contact List” field, you will see all the existing lists in your account. If you want to add your imported contacts directly to one of them, you must select it before loading the file.

On the other hand, if you choose to leave this field blank, all the newly imported contacts will be automatically added to the lists you have created, based on the filters each list has. For example, if you have a list called “Barcelona Leads” to which you have applied a filter that includes only contacts whose City field is equal to Barcelona, without the need for manual intervention, all imported contacts that meet this requirement will be added to this list. This automated segmentation will also occur if you select a list from the “Contact List” field. This action will ensure that your imported contacts are included in the selected list, but FluxForce will also add the imported contacts to all other lists whose filters group them based on specific criteria.
6- Once you have matched all the columns to the fields in FluxForce, you can import the contacts. In the upper right corner, you will see two options: “Import in browser” and “Import in the background.” Importing in the browser allows you to see the progress of the import process, while importing in the background allows you to do other things while your contacts are being imported. The latter option is preferable for importing very large lists that would otherwise require a long wait.
7. Done! The contacts have been successfully imported.
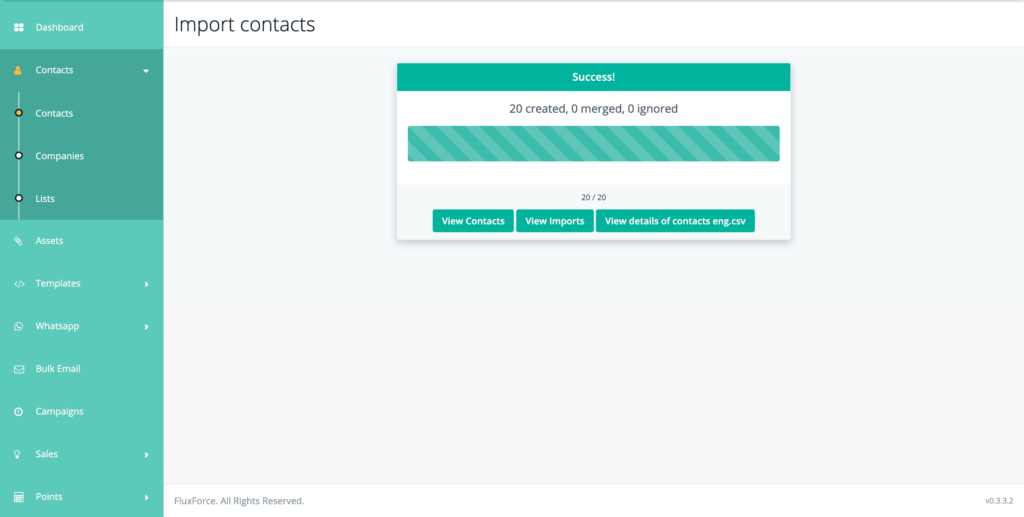
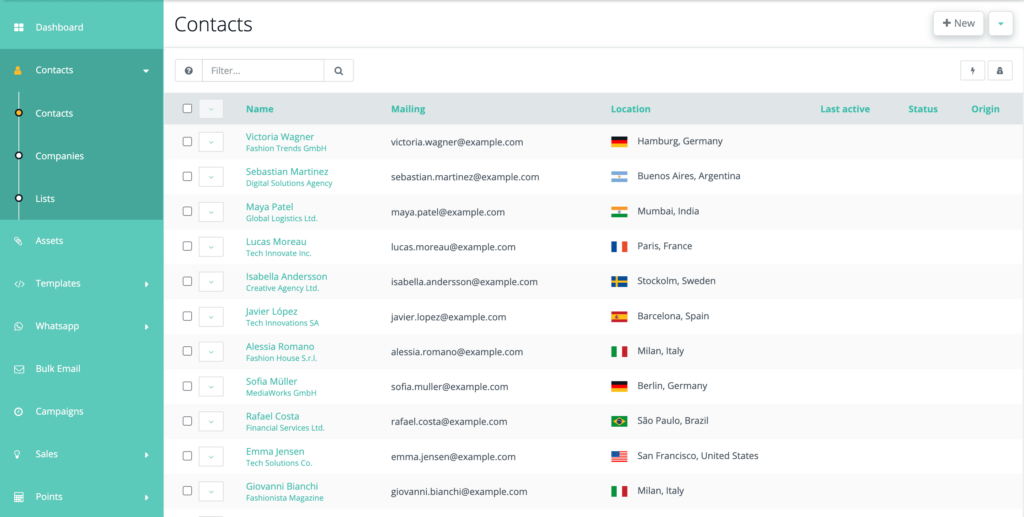
8- If you click on “View Contacts,” you will be directed to the Contacts section of your FluxForce account, where you can see all the imported contacts.
9- Do you remember the list mentioned in step 5? Click on “Lists” in the main menu on the left..
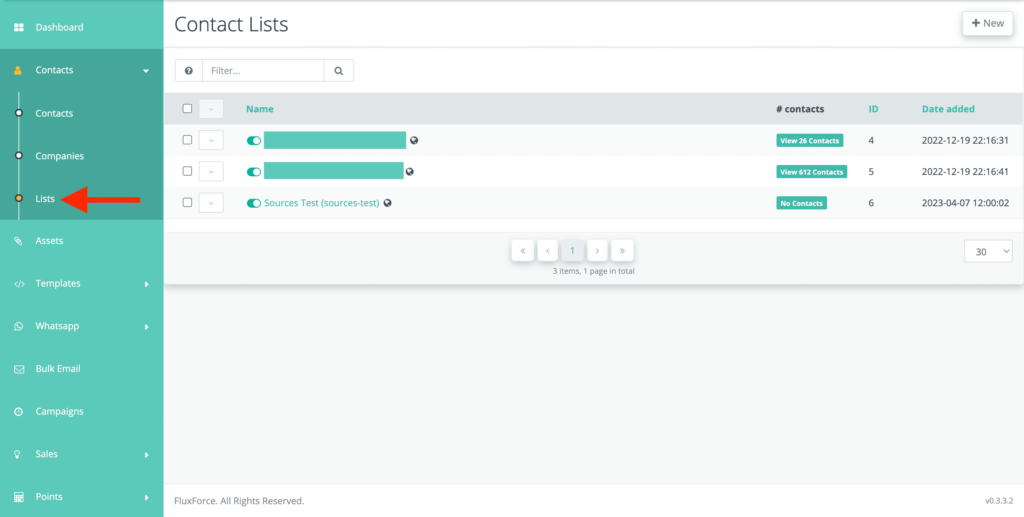
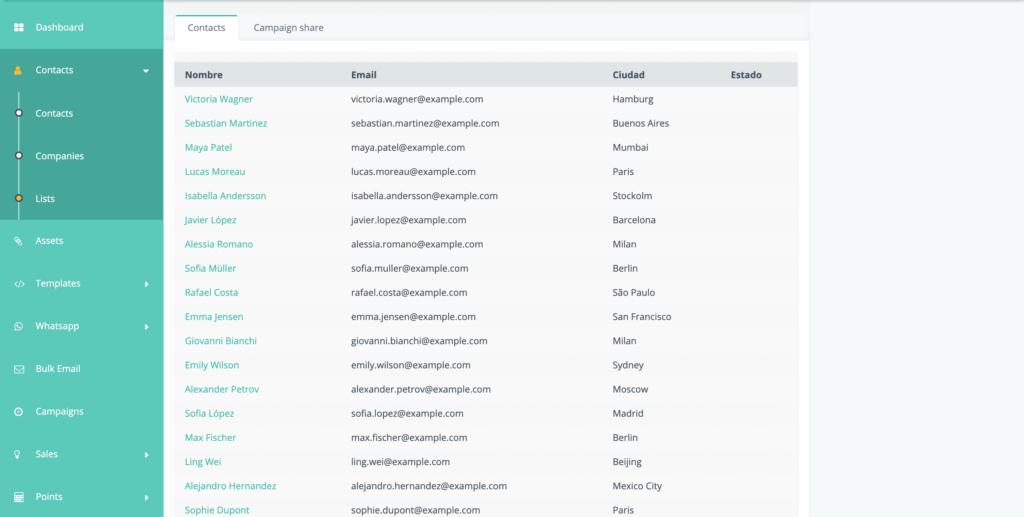
10- If you select the list you chose during the import process, you will see all the new contacts within it.
As you can see, the process of importing contacts to your FluxForce account is very straightforward and intuitive. It also facilitates the exponential growth of your leads. Our platform allows you to do it unlimitedly in all our plans!
To enjoy all the benefits of FluxForce, register here.